
How did that get there? you wonder, half-awake as you raise your morning mug for a sip and look out the window to your neighbor’s balcony. Is that really a mushroom? No way- we are on the second floor of this building.
Yes way and, by using common household items, you can grow them using your own patio or balcony!
As for how that mushroom got over to the patio of the family next door, it’s an intriguing process which we will attempt to sum up for you as much as one can encapsulate such a complex, living thing:
A mushroom is just the visible part of the fungus springing forth from the main body hosted in the growing material. Be it dirt, wood, or other organic material, a mat of mycelium interlaces itself with the nutrient source of its preference and, when it comes time to reproduce, the mycelium pushes up a mushroom in order to release spores. Some of these spores will land on a suitable material, grow mycelium, and begin the cycle all over again.
However, we definitely do not suggest casually eating one of the mushrooms already growing on a balcony given that they are notoriously difficult to reliably identify. Instead, come along as we share the whole process with you from start to finish; we can say from experience that growing them intentionally will undoubtedly give you more out of the experience including learning about the cultivation process, involving those around you who are similarly interested, and some pretty tasty food to boot.
Now, this may seem like a lot of information, but here’s the truth—
You don’t need to be a mycologist (or even an experienced mushroom grower) to cultivate your own balcony buddies!
We have even grown mushrooms using a cup that was hidden in a desk drawer, so it stands to reason that if we can do it simply then you can too. It requires no special skills, no previous experience, no big financial investment, and you get to look like the cool kid on the block. Plus, we are here to walk you every step of the way. Soon, you’ll have mushrooms of your own to either glance at wistfully in the mornings or stare at eagerly until it’s time to cook dinner.
Let’s Get Started
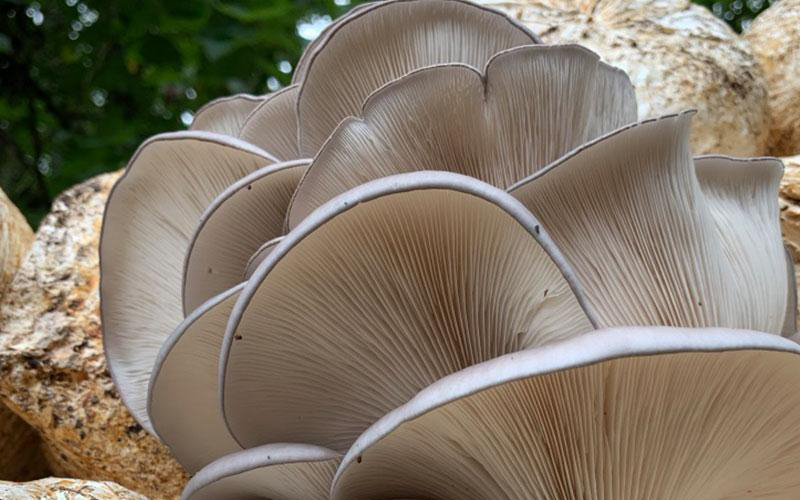
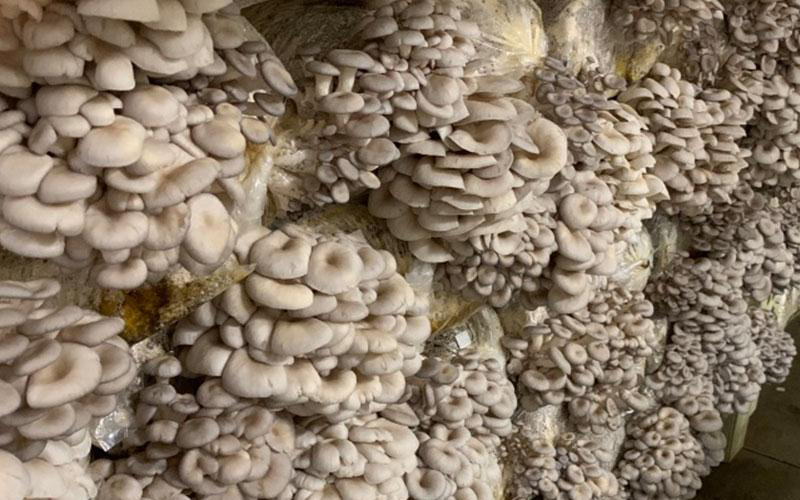
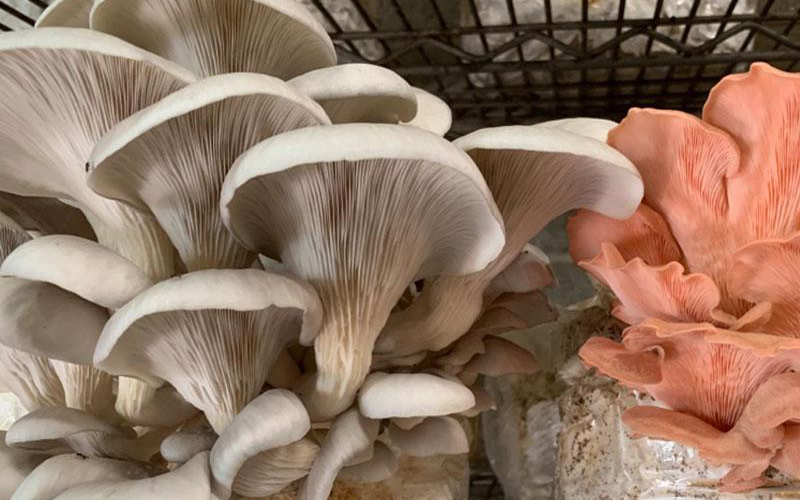
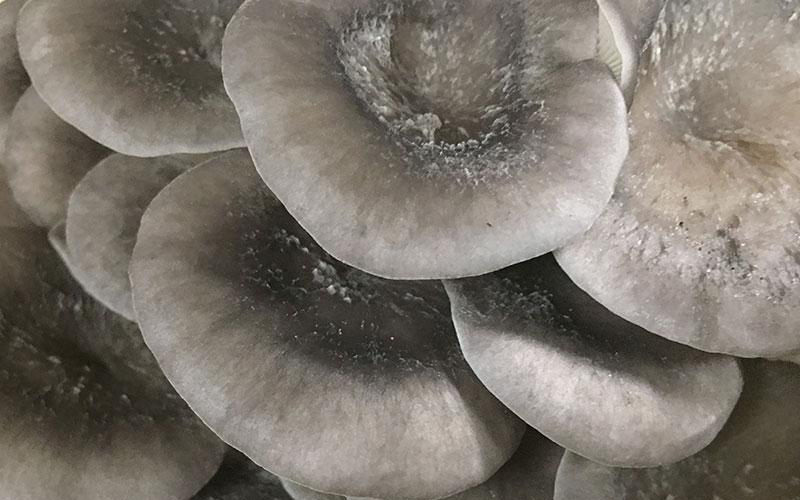
If this is your first try at growing mushrooms, we at Mushroom Mountain suggest growing and cultivating Oyster Mushrooms (Pleurotus spp.) for several reasons. This is not to say you can’t start out working with something like Shiitake, but we have found that Oysters in particular are forgiving, will readily dominate growing mediums, and can be easily sourced. There are three types of cultivated (non-wild) oyster mushrooms: Pink, Blue, and Golden.
As for which type of oyster you want to grow, the choice is between pink and blue; their flavors are relatively similar, but Pink Oysters prefer to grow in warmer weather (75-90° F) whereas Blue Oysters prefer cooler temperatures (65-80° F).
Note: We no longer offer Golden Oyster mushrooms due to their classification as an invasive species in North America. We encourage our customers to explore the wonderful qualities of our Pink and Blue Oyster varieties instead.
Mushrooms, in their fruiting phase, require indirect light and adequate Fresh Air Exchange (FAE). Thankfully, once you put them on a balcony you can be sure you are providing the proper FAE, but indirect light is still extremely important. If you have a balcony that is not covered, we recommend creating indirect light by means of providing shade either by hanging a thin sheet/tapestry or shading the mushrooms with some plants you may have.
After establishing the ideal environment, here are the items you will need to gather:
For the Pasteurization Process:
- Substrate of your choosing
- Dried cereal straws like wheat, oat, or rye (can be found at most feed stores)
- Cardboard (avoid cardboard with ink/dyes which may contain heavy metals)
- Coffee grounds (find out more HERE)
- Heat source
- Water
- Cooking pot
- Rubber gloves (if desired, otherwise just sanitize your hands)
For the Inoculation/Growing Process:
- Mushroom spawn
- Drill bit (or something to make holes in your growing container)
- Clear bag large enough to cover the container (do not use a black bag because it blocks sunlight)
- Misting spray bottle filled with dechlorinated water
- Container and lid of your choosing
- Bucket (these can be stacked!)
- Coffee Can (You can even use your coffee grounds but you might need a stronger drill bit for the can)
- Milk jug (cut the top third off and put the substrate in the bottom portion, seal the top back onto the bottom portion with tape until the fruiting phase)
- Used Lunch Boxes
- Used Coolers
Ready, Set, Grow!
Just like any good process, this is completed in steps.
First, you prepare your containers by drilling holes every 3 to 4 inches in a checkered pattern, then clean the containers thoroughly. Next, pasteurize your substrate (also known as your growing material) by submerging your substrate in a pot of water on your stove and establishing a gentle rolling boil. Sustain this gentle boiling on low for at least two hours and then turn off the stove, allowing your substrate to come down to room temperature.
Sanitize your hands or use gloves and, once cool to the touch, add a 1 inch layer of thoroughly squeezed-out, pasteurized substrate to your clean container, followed by a heavy sprinkling of Oyster Mushroom Spawn, followed by another 1 inch layer of drained, pasteurized substrate.
Repeat this process and fill the container until you reach about 2 inches from the top and add a final 1 inch layer of substrate, making sure you leave an inch of space between the final layer and the lid. It is best for beginners to err on the side of too much spawn instead of too little, so we recommend using plenty of spawn in your layers.
Now, the waiting game—also known as colonization. Place your container in a dark area that maintains a temperature between 70-80°F and open the container lid once daily to spray some dechlorinated water on the surface and allow for an influx of fresh air. The length of time it takes for your mushrooms to fully colonize the substrate in the container will depend on what substrate you are using, the size of your container, and the type of mushroom you use. Once you see the fuzzy white mycelium all over the substrate, it’s time for fruiting!
Moving Day
Transfer your containers to an area on your balcony with bright, indirect light, remove the lid, and mist all the exposed mycelium with a fine mist of water twice a day. Keep the lid to the side and cover the container with a clear bag to help with retaining moisture.
As the baby mushrooms start appearing, mist them often to prevent drying. It is critical that the baby mushrooms never dry out. As the baby mushrooms (pinheads) enlarge, reduce misting to once daily since excessive watering can attract bacteria that will cause rot and decay.
Mushrooms generally double in size every day and the best time to pick them is when you notice the mushroom growth starts to slow and the caps of the mushrooms start flattening out. Make sure you don’t water them right before picking since wet mushrooms do not store well, and don’t get them wet until just before you are ready to cook them. Pick your mushrooms by twisting them gently out of the substrate, trim the stipe (stem) clean, and store refrigerated for up to 1 week in a paper bag. Any mushrooms that are not cooked within a week can be dehydrated, powdered, and stored in an airtight container for future use.
What’s Next?
The best part of all is that, once you pick your fully-grown mushrooms, you can continue to produce more either by completing the above steps over again using your current colonized substrate as the spawn, or you can produce spore prints for future use. Your currently colonized container will fruit at least three more times, with each flush producing less mushrooms than the previous flush, but enough mushrooms will be produced per round for at least a meal. To encourage this cycle let your colonized substrate rest, untouched and unwatered, for two weeks following harvesting and then watering once thoroughly before beginning over again with the growing process.
Interested in producing spore prints? Stay tuned because we will talk more about this in a future article!
Of course, if you’re not intent on getting as involved with the growing process, you can take a look at our available fruiting kits in our shop—they’re ready for the fruiting stage as soon as they arrive, which is an excellent and introductory way to learn about mushrooms themselves. Then, when you’re confident and ready, you can use the fruiting kit as spawn to follow along with these steps… or just give the used kit to a friend since it’s also an excellent addition to any compost pile.
Happy Growing!
Blog by: Ben Feria, MM Copywriter

1 thought on “Growing Mushrooms at Home: Patio and Balcony Edition”