
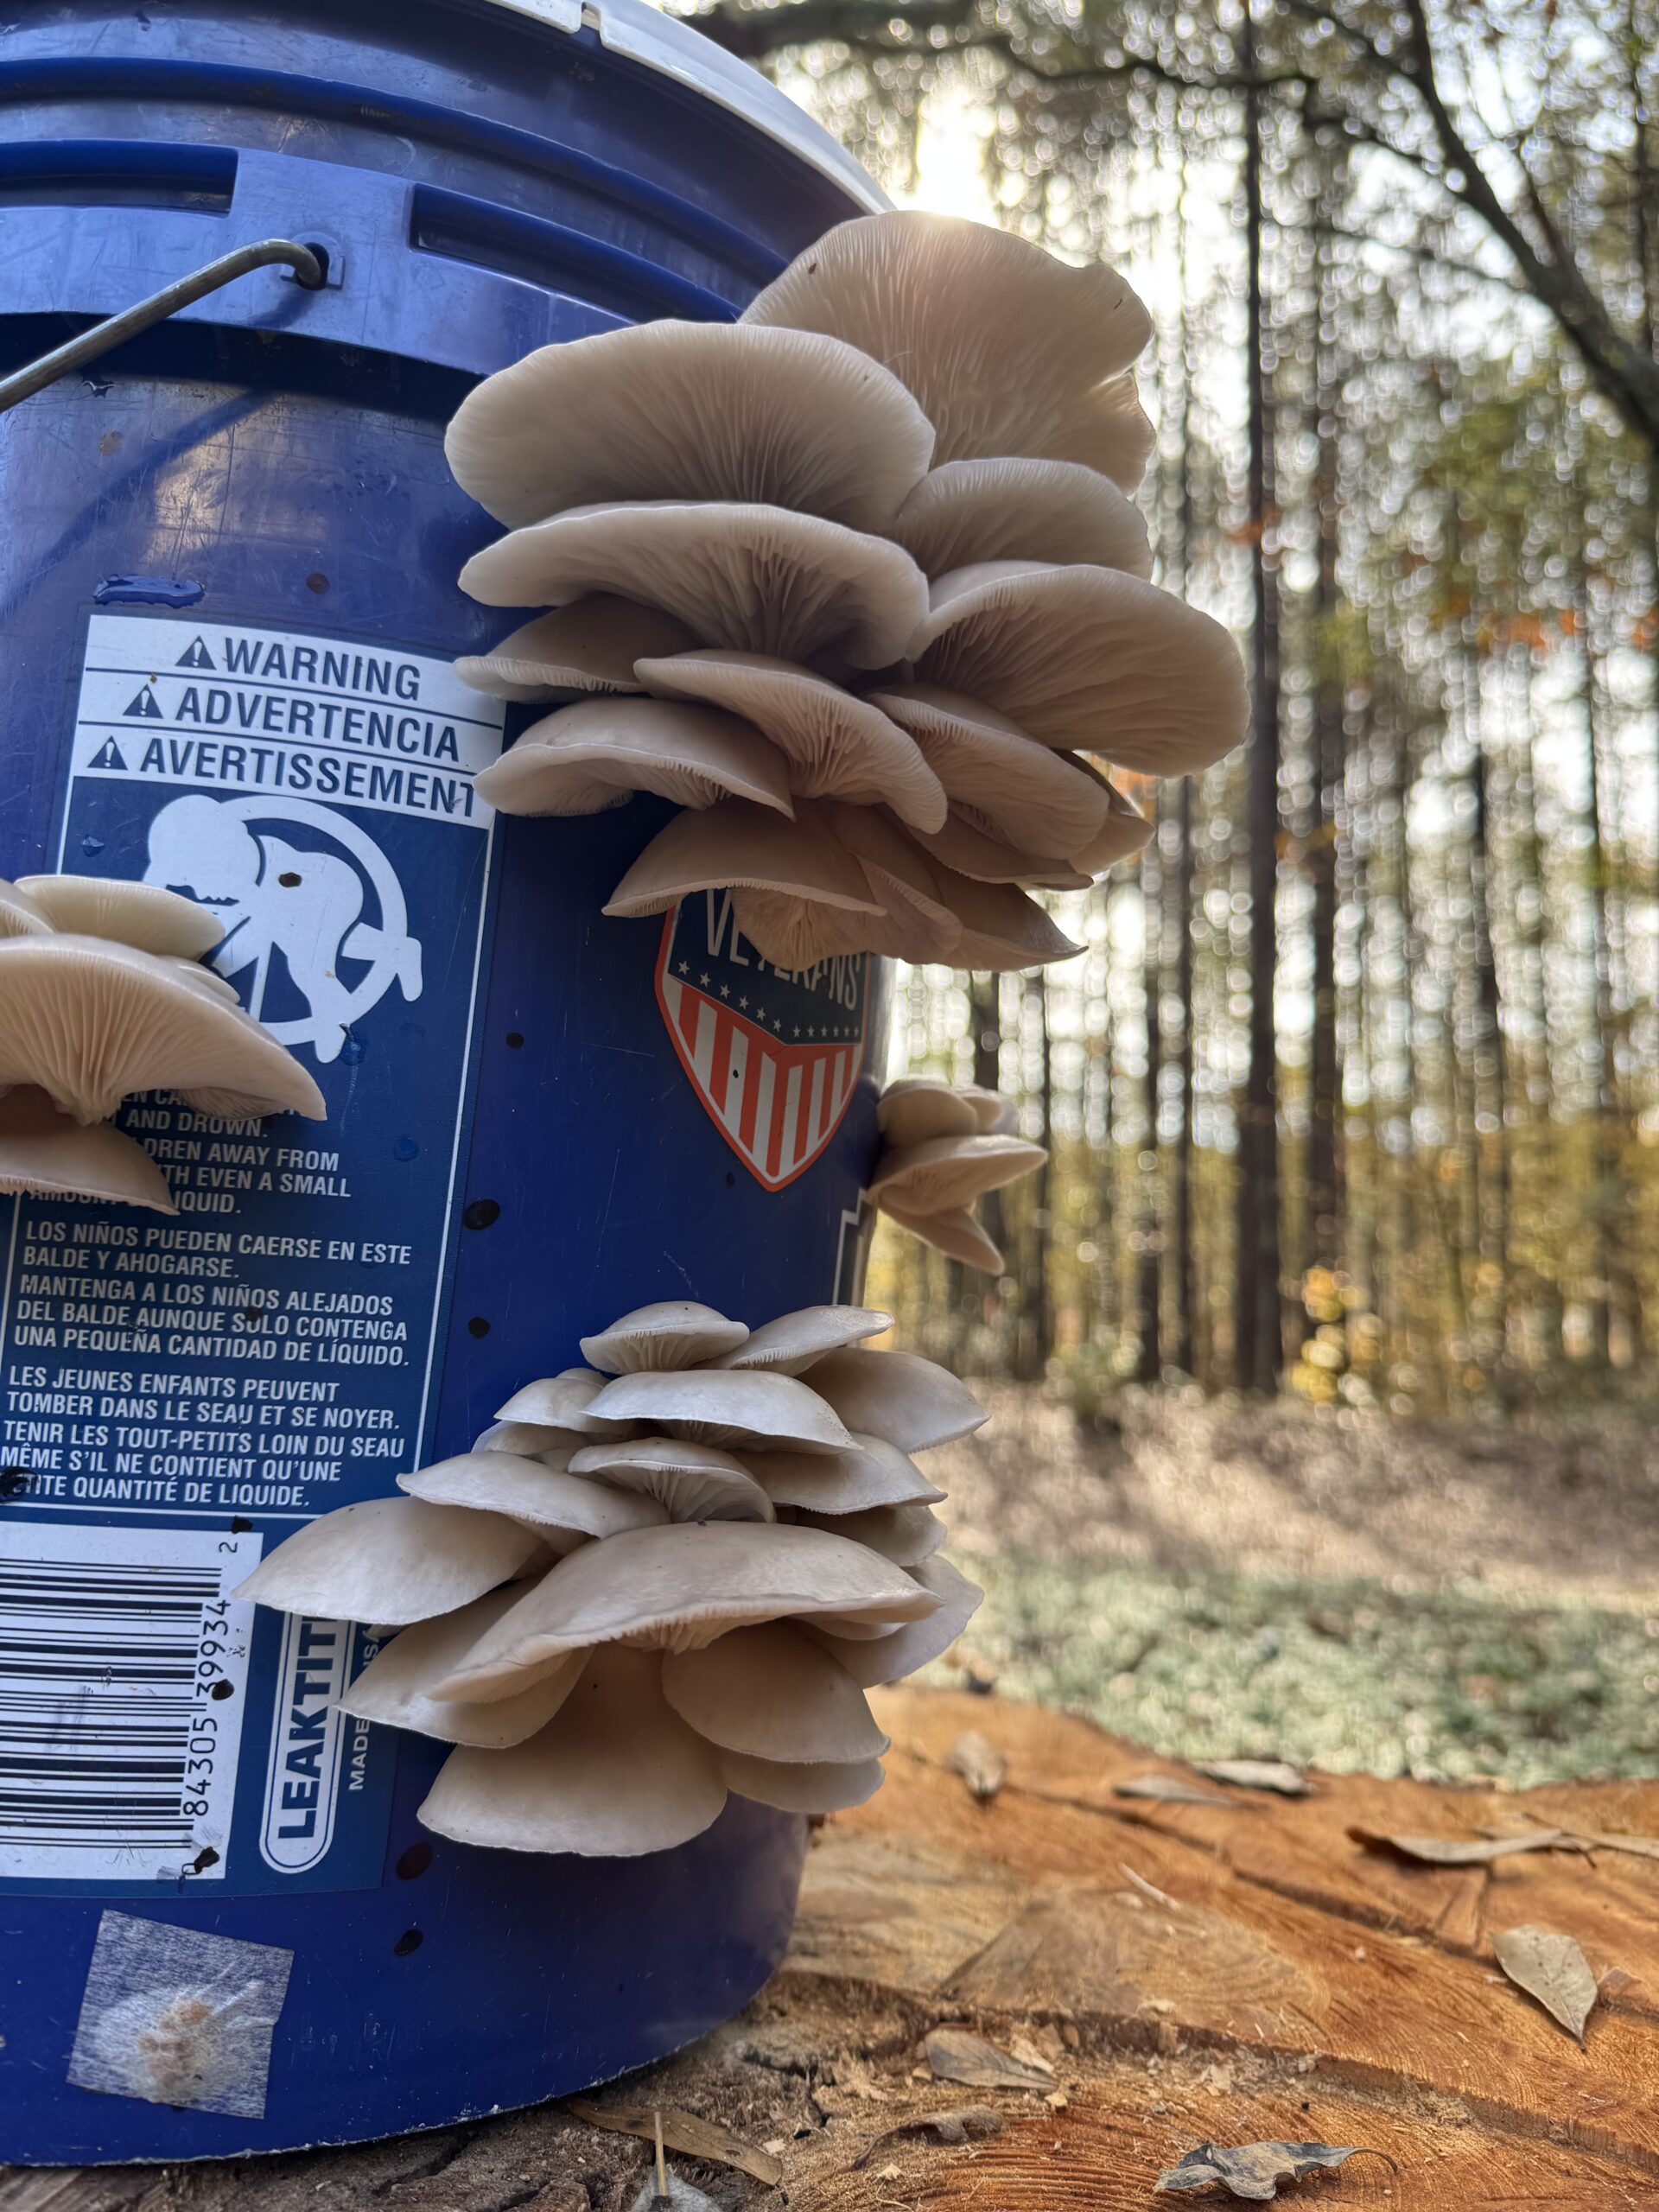
Growing mushrooms at home doesn’t require a greenhouse, a lab, or a degree in mycology. In fact, one of the simplest and most effective ways to grow oyster mushrooms is with something you might already have lying around: a 5-gallon bucket.
This method is affordable, scalable, and incredibly forgiving – perfect for beginners, gardeners, families, and curious humans who just want to grow food at home.
Let’s walk through it step by step.
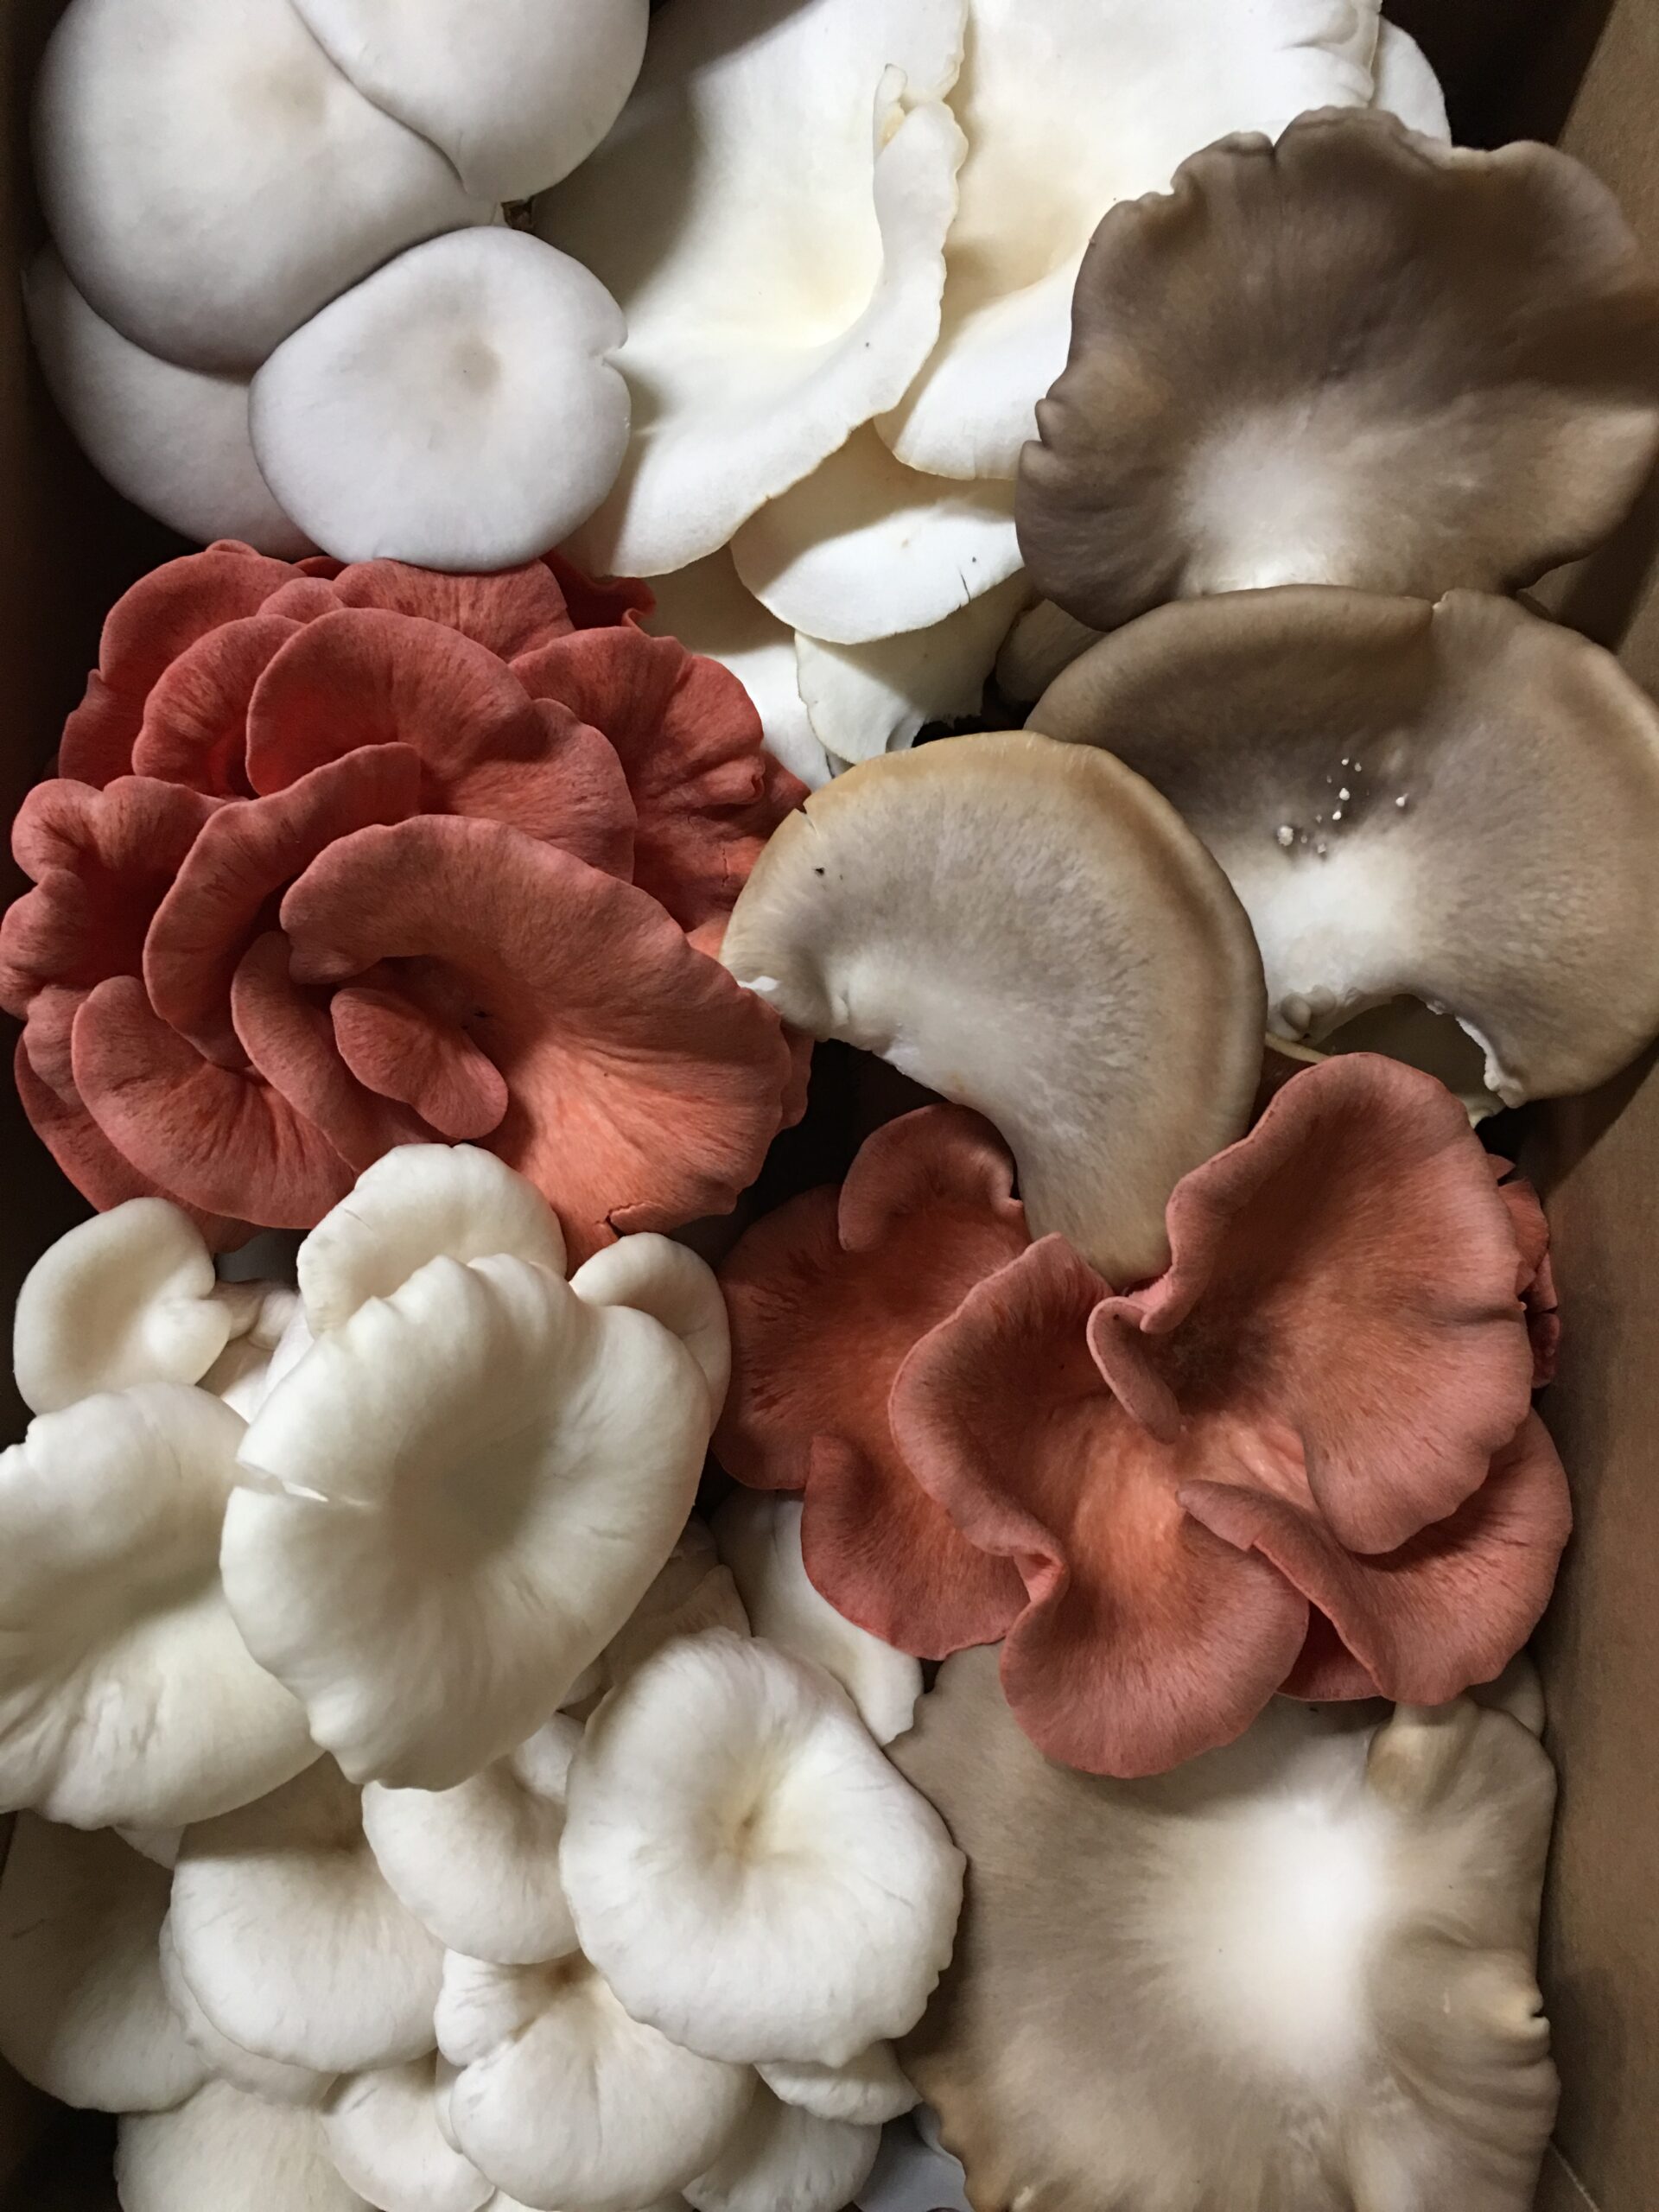
Why Oyster Mushrooms?
Oyster mushrooms are ideal for first-time growers because they are:
- Fast-growing
- Aggressive colonizers (they outcompete contaminants well)
- Productive
- Adaptable to indoor environments
- Delicious and versatile in the kitchen
If this is your first mushroom grow, oysters are the way to go.
What You’ll Need
To build your own mushroom fruiting bucket, gather the following:
Supplies
- 1 clean 5-gallon bucket with lid
- Drill with ¼–½ inch bit
- Oyster mushroom spawn
- Substrate (chopped straw, or straw + cottonseed hulls)
- Large heat-safe bag or container
- Hot water (160-180°F)
- Micropore tape
- Spray bottle
- 70% isopropyl alcohol (for cleaning)
Nothing fancy. No sterile lab. Just solid basics.
Step 1: Prepare the Bucket
- Drill holes evenly around the sides of the bucket
(about 10–15 holes total). - Clean the bucket thoroughly.
- Wipe down the inside with 70% isopropyl alcohol and let it dry.
These holes will become the exit points where your mushrooms grow.
Step 2: Prepare the Substrate
Oyster mushrooms don’t grow in dirt – they grow in dead plant material.
- Place your chopped substrate into a heat-safe bag or container.
- Pour hot water (160°F) over it until fully submerged.
- Let soak for 1.5–2 hours.
- Drain thoroughly and allow it to cool completely.
This process is called pasteurization.
Step 3: Inoculate the Bucket
Now the fun part.
- Once the substrate is cool, mix in your mushroom spawn evenly.
- Pack the mixture tightly into the bucket up to the fill line.
- Snap the lid on.
- Cover all drilled holes with micropore tape.
The tape allows airflow while keeping contaminants out.
Step 4: Colonization (Patience Pays Here)
Place your bucket in a spot that is:
- Around 70°F
- Out of direct sunlight
- Relatively dry
Leave it alone for 4–6 weeks, checking weekly.
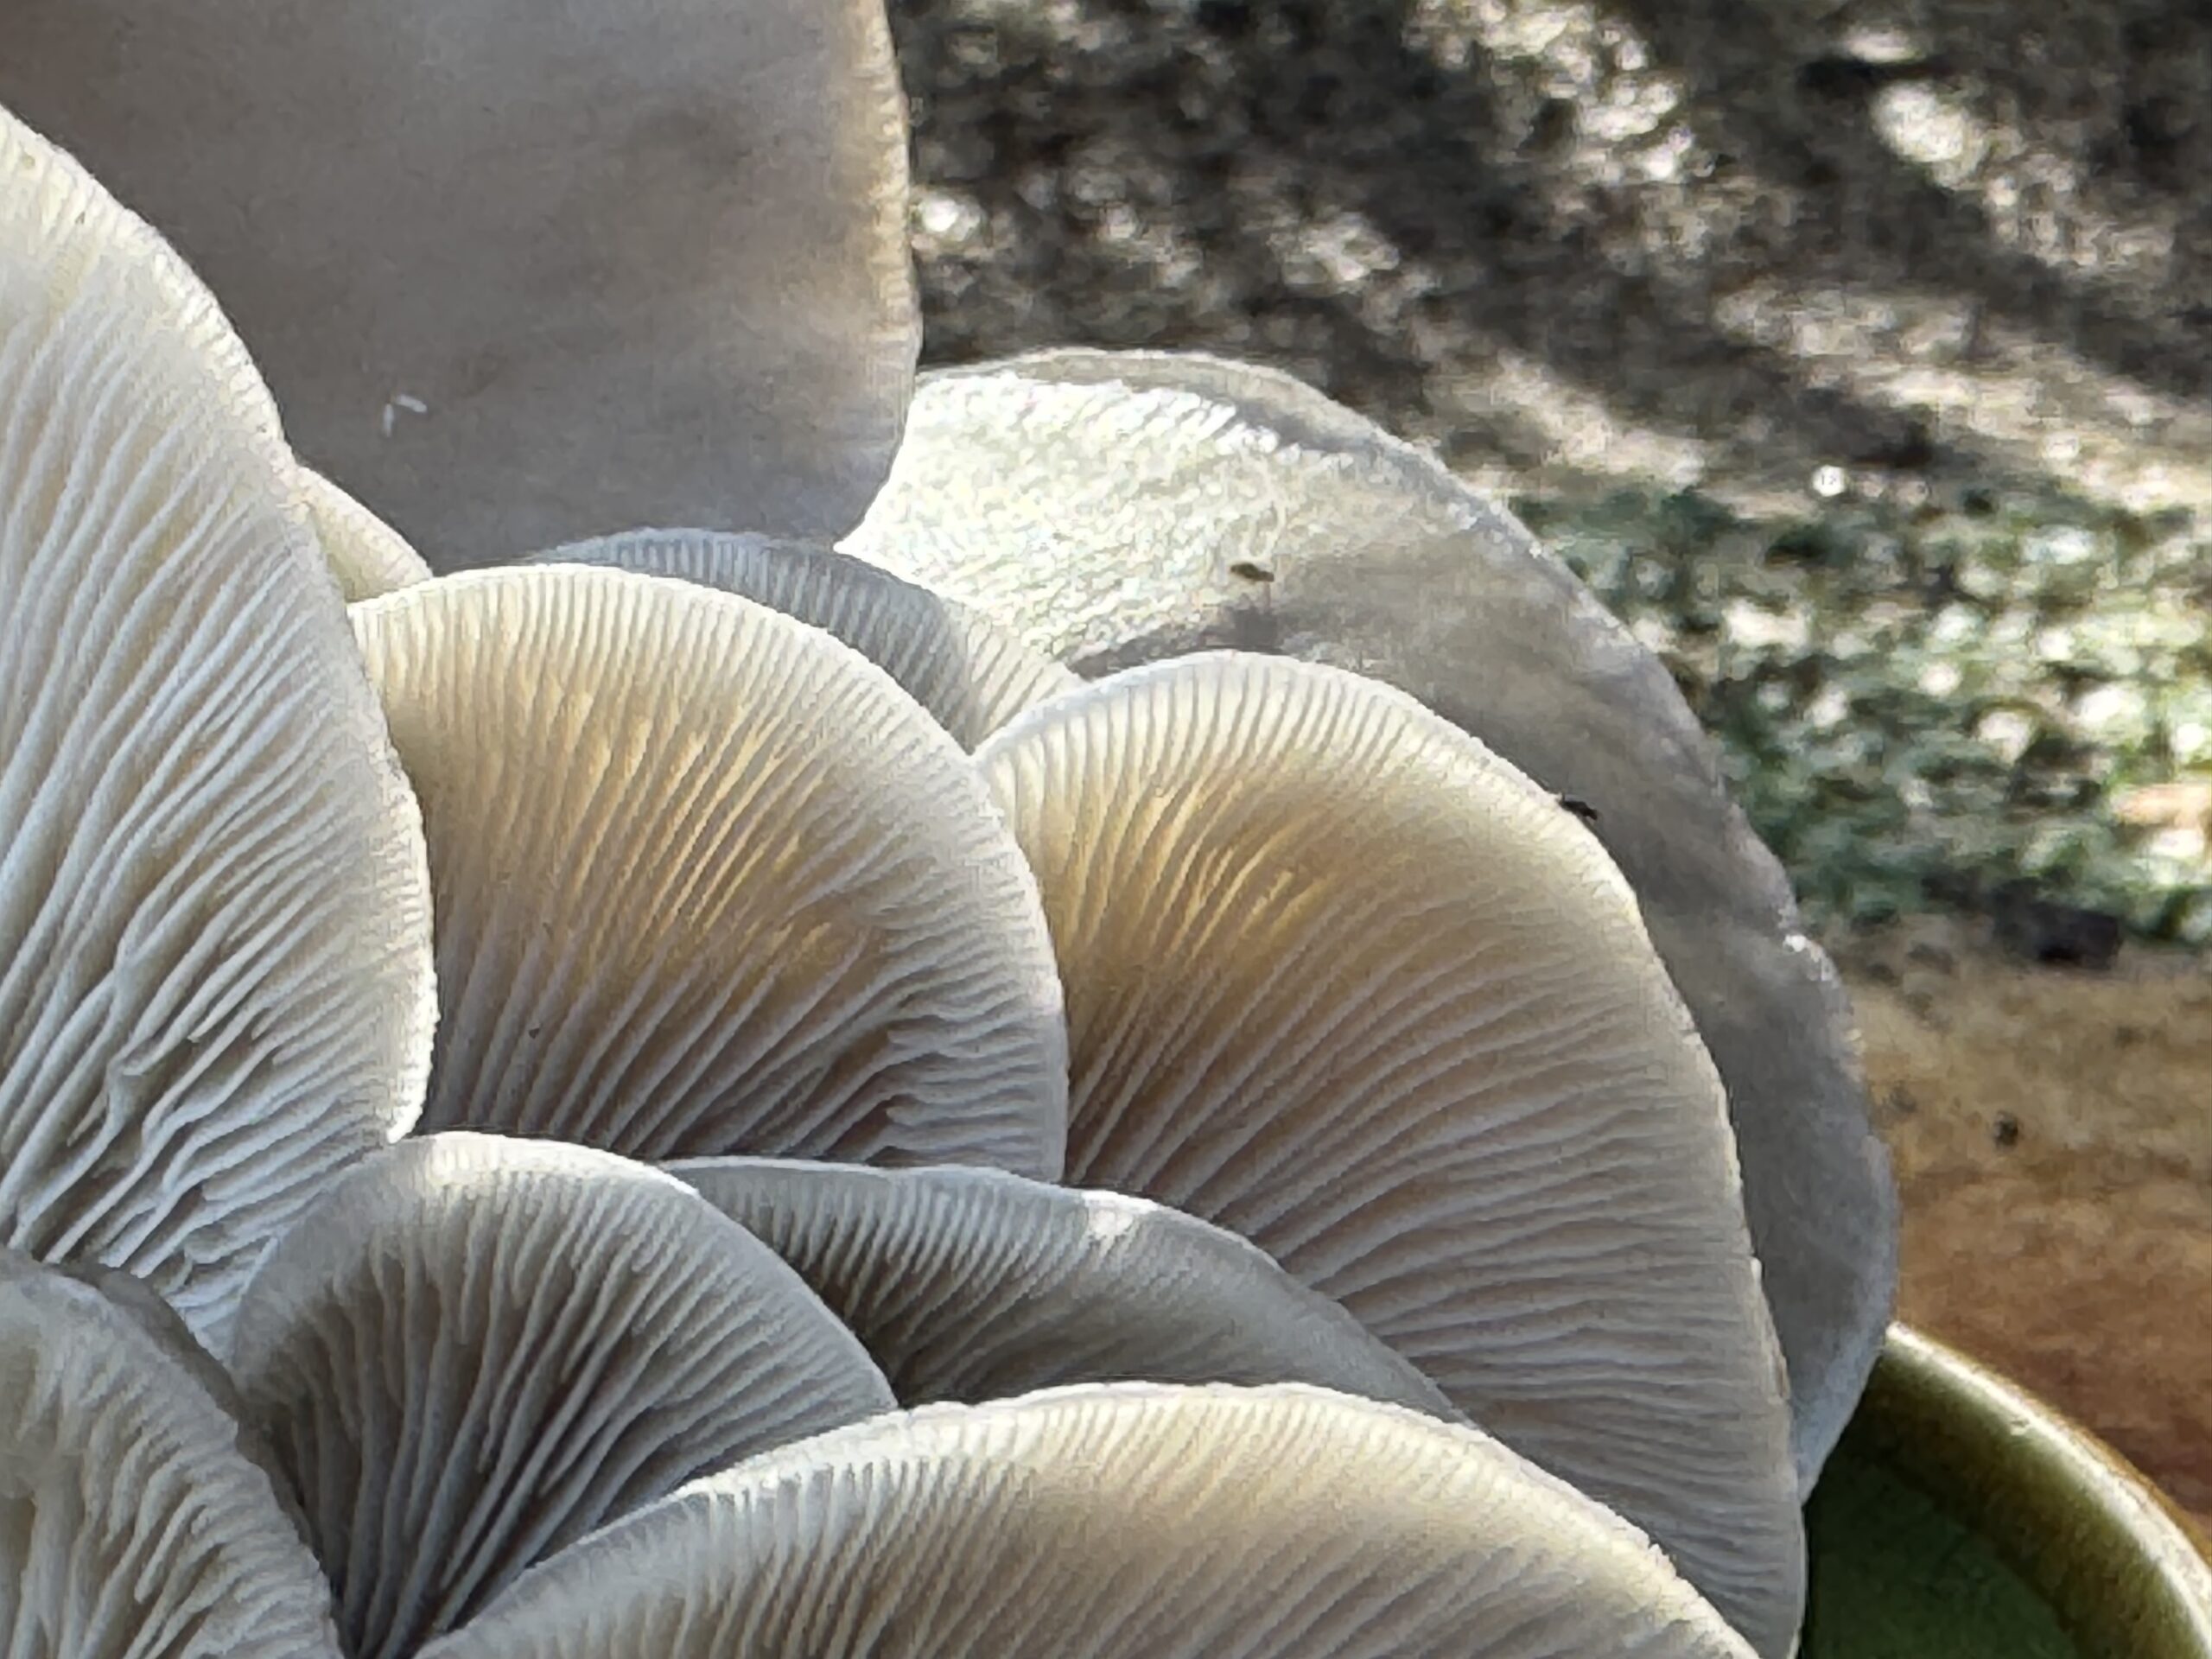
During this time, white mycelium will spread throughout the bucket, turning the contents into one solid living organism.
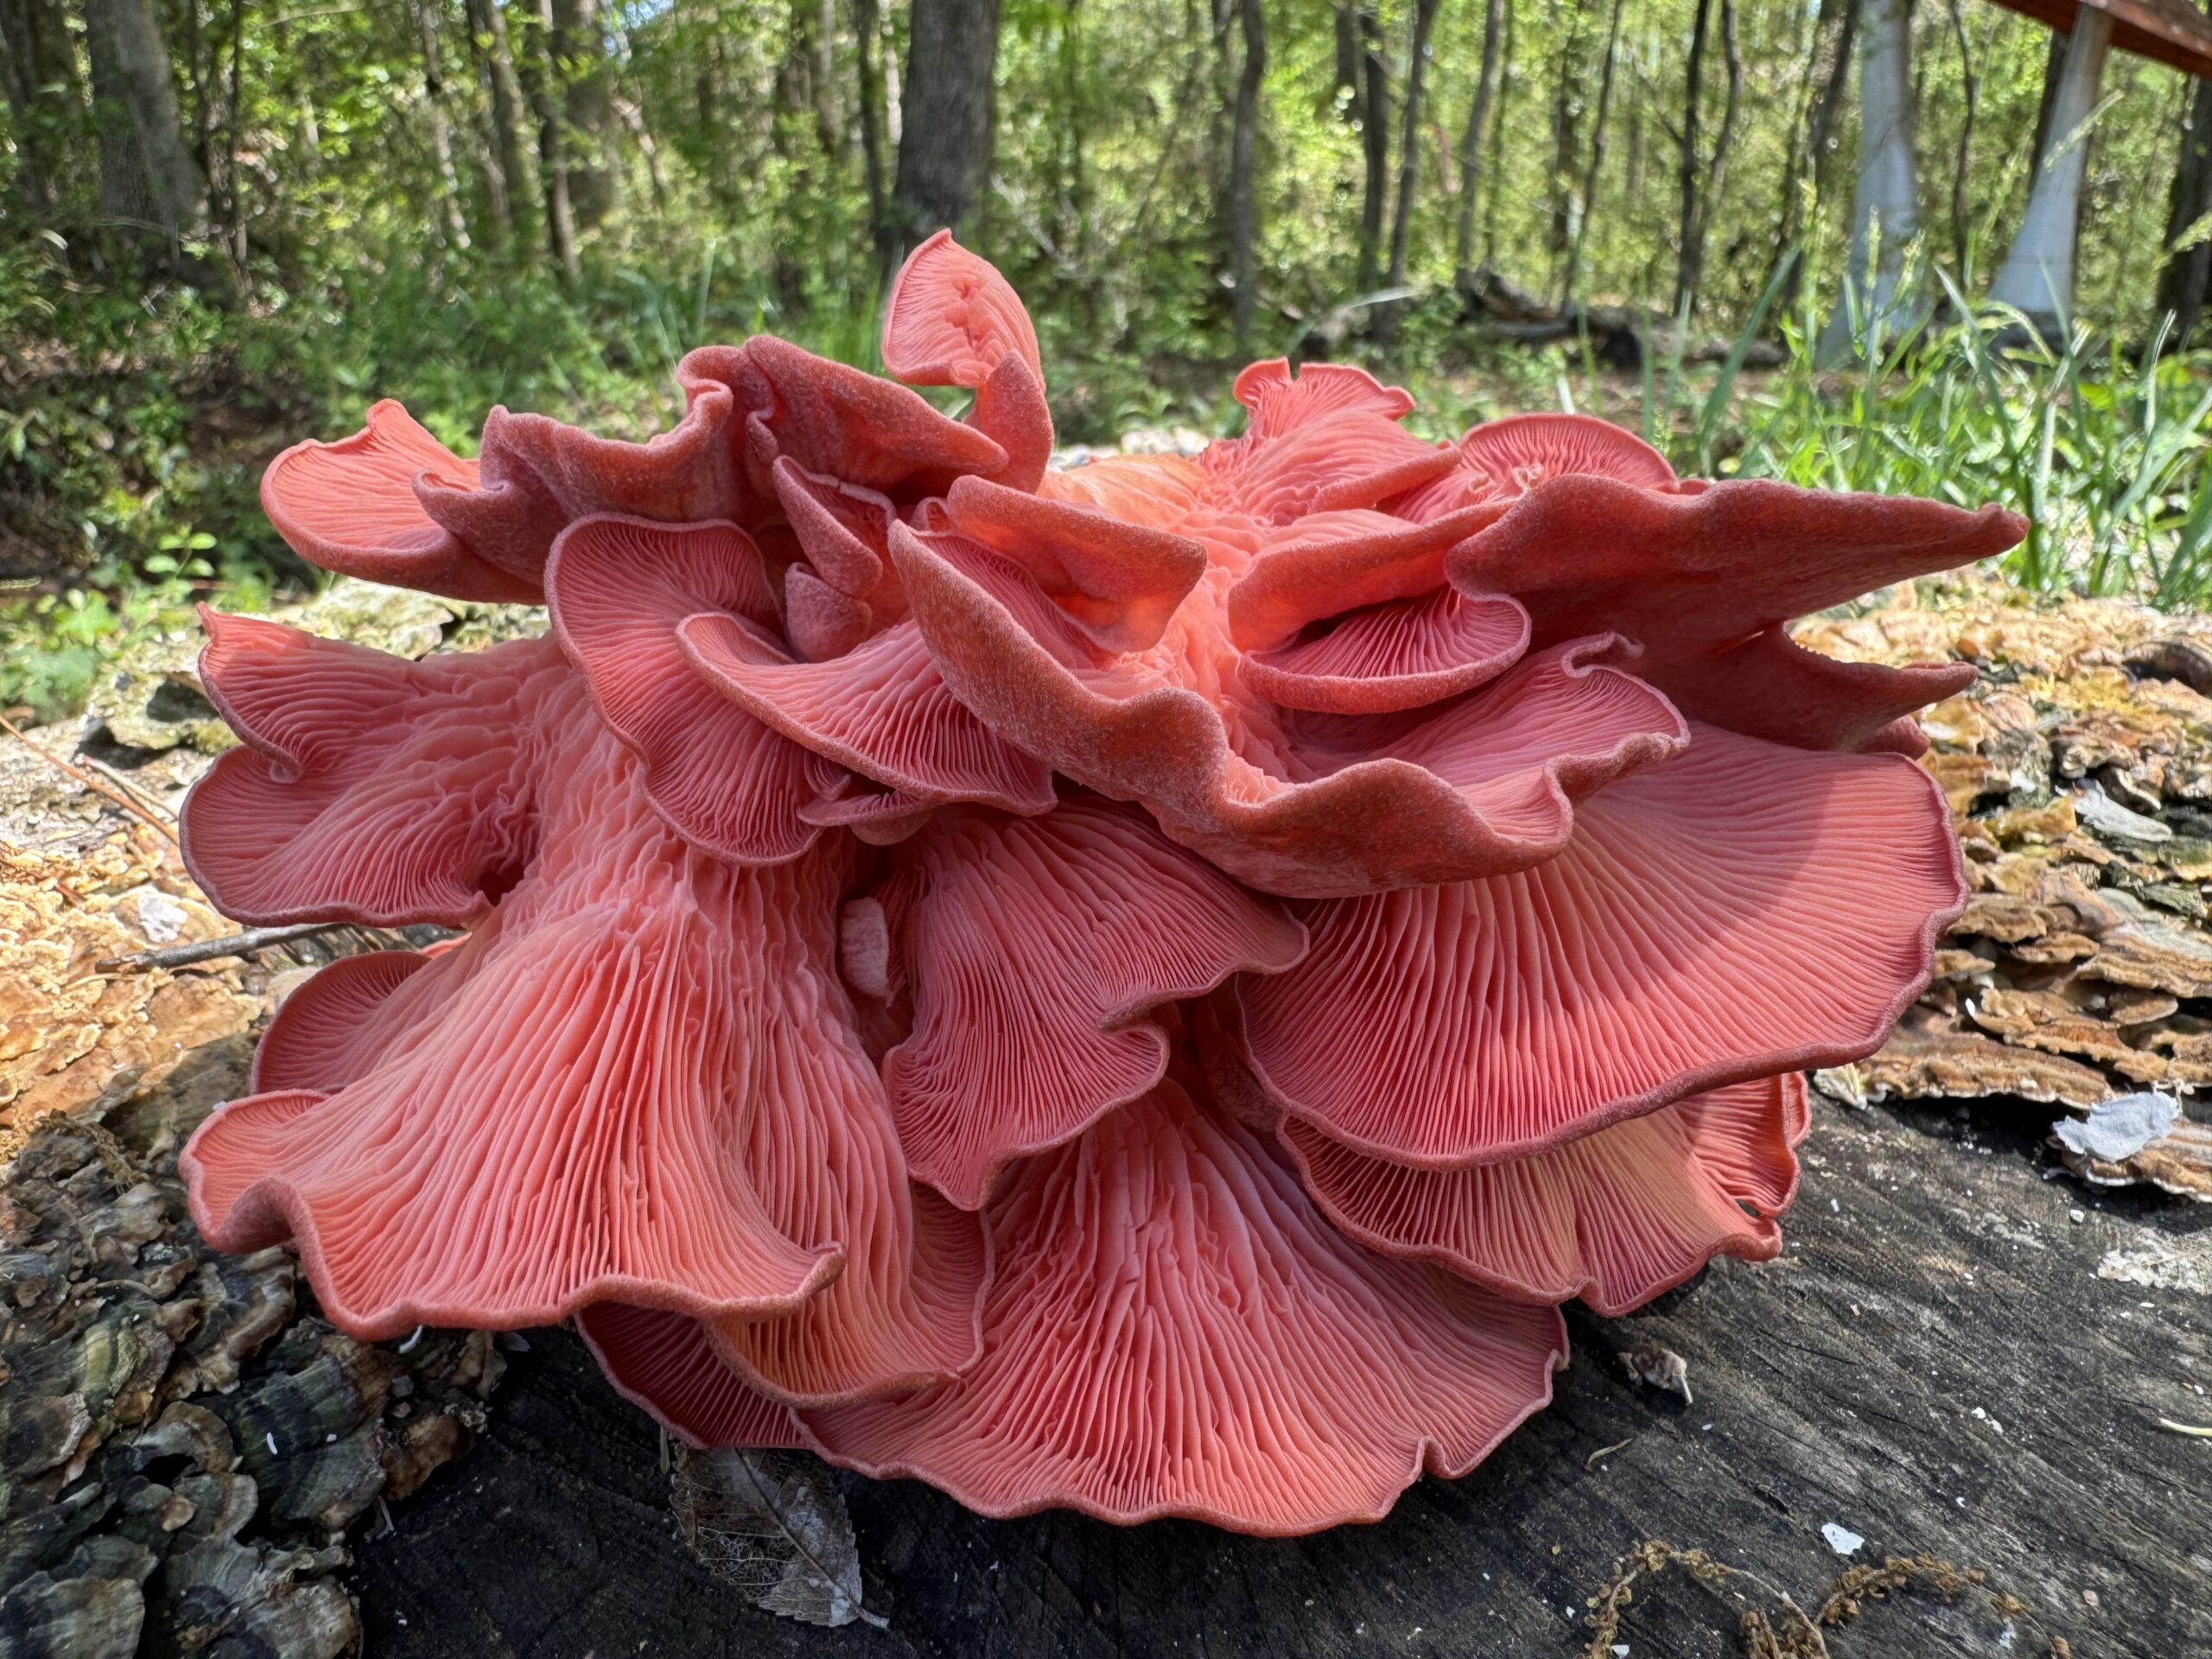
👉 Pink oyster mushrooms often colonize faster—sometimes in just 2 weeks.
Step 5: Trigger Fruiting
Once the bucket is fully colonized:
- Remove the micropore tape from the holes.
- Move the bucket to a space with high humidity (around 80%).
- Begin misting.
This environmental change tells the mushrooms it’s time to fruit.
Step 6: Watering & Care
- When small mushroom “pins” appear, mist frequently—often once an hour.
- As mushrooms grow larger, misting can decrease.
- Regular tap water is perfectly fine.
Mushrooms grow fast. Check daily—you’ll be amazed.
When to Harvest
Your mushrooms are ready when:
- They stop doubling in size each day
- Caps are still slightly curled under
To harvest:
- Twist gently at the base
- Remove the entire fruiting body
The harvest window is usually 4–5 days, so don’t wait too long.
Multiple Harvests (Yes, Really)
Your bucket can fruit three or more times.
After harvesting:
- Let the bucket rest for two weeks (no watering).
- Water thoroughly once.
- Repeat the fruiting process.
Each flush will be a bit smaller – but still very worthwhile.
Storage Tips
- Store fresh mushrooms in a paper bag
- Refrigerate
- Best used within one week
Common Issues (Totally Normal)
-
Green mold happens sometimes.
Small spots can be cut out and treated with alcohol.
If it spreads, it’s okay to start over – every grower has been there. -
Mushrooms drying out?
Increase misting and move away from drafts.
Mushroom growing is less about perfection and more about observation.
Want to Skip the DIY Part?
If reading this made you think:
“This is awesome… but I don’t feel like drilling buckets and looking for substrate.”
Totally fair.
At Mushroom Mountain, we offer ready-to-go fruiting buckets that are already built, inoculated, and colonized—so you can jump straight to the growing and harvesting part.
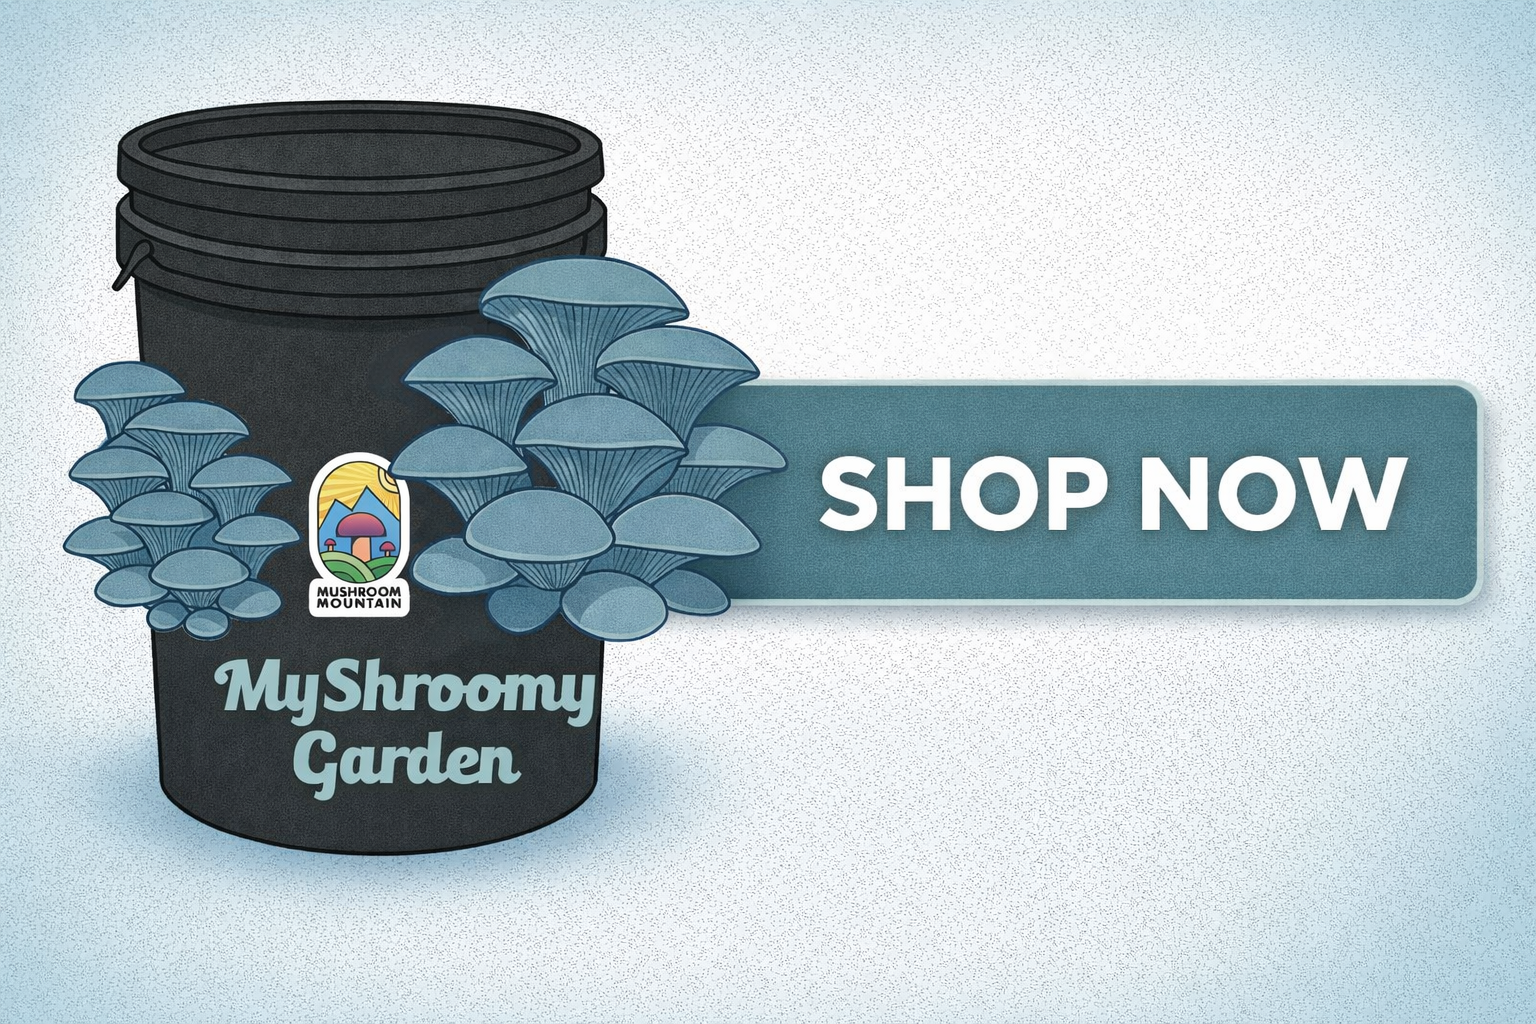
DIY or done-for-you – both paths lead to mushrooms 🍄

1 thought on “How to Grow Oyster Mushrooms at Home Using a 5-Gallon Bucket”